TOP 13 MAKEUP AND HAIR TRIAL TIPS FOR BRIDES-TO-BE
YOU’RE ENGAGED! CONGRATULATIONS!!
….and now you have the (hopefully) fun task of planning your wedding!
Many brides start their wedding planning with booking in a hair and makeup artist, or booking the venue. There are 1000’s of amazing hair and makeup artists all over the country so it can be a very daunting task!
Using my experience over the years, I decided to write a blog post on how to choose a great bridal hair and makeup artist, and also how to make the most of your bridal trial, should you want to have one. Enjoy!
- Many artists are super flattered when a bride books them without a trial, however – to be honest I think a trial is very important regardless of how sure you are of the persons work. Firstly, at a trial you are able to check whether you have a good rapport with your bridal stylist, who is usually the person who will be with you the most just before your entrance! Also, at a trial you’re able to try out different looks that may suit your eye colour / face shape / hair colour that you never thought to try. Lastly, there may be products that do not work well with your skin type, and its much better to find out at the trial than it is on the wedding day!
- You can book the trial whenever you feel comfortable, most brides book the trial in as soon as possible in order to secure the date for her wedding day. Some brides book a trial 3-6 months before the day once they know what they will be wearing. Some brides have two trials, one before booking, and one closer to the time. I always take detailed photos and notes on the trial day to ensure that I am able to recreate the chosen look effectively.
- Wear a top (if you can) that is a similar shade to your dress. The colour of your dress will effect how your makeup will look. You want everything to tie together as much as possible for you to really be able to visualise the final look. That being said – on the day of the wedding, it is entirely possible to tweak colours to match your wedding dress.
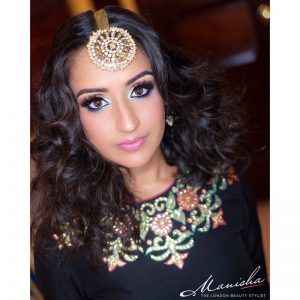
Photo Credits:- Manisha The London Beauty Stylist
- Ensure that you have collected some photos of looks that you like, ideally of women who are of a similar skin tone and bone structure got you, or women that have similar hair length and texture to you. In particular, pay attention to the eye shapes on the looks you choose. This is a huge help, as it gives the artist an idea of the level of intensity of the makeup. In my earlier years, brides would come to me and say “Oh, I don’t know, do whatever”, my “whatever” was totally different to their expectation of what “whatever” was. From now on, if the bride has not prepared any photos for me to refer to, I’ll ask her to find some for me before I begin applying any makeup.
- Bring some photographs of you from a special occasion, where you really love the way your makeup turned out. Again, this is a huge help and helps artists see the level of intensity of makeup you would wear on a regular basis. If someone shows me their regular photos and their makeup is pretty glam, I’ll know that I can go a bit more on the side of glam makeup, if someone tells me they never wear makeup, I’ll know that I may want to soften it down (unless they ask me to glam it up!). At the end of the day, the artist wants you to feel your very best, many times this will be something close to your usual makeup style, everyone has their things that they are particular about, don’t be afraid to let your artist know of these. For example, I will only line my own lips, I prefer the way I do it!
- Be realistic, don’t come to your trial with photos that are heavily edited, filtered or photo shopped. Remember, the makeup application has to look great in person, as well as in photos and video, heavy contour could look great in photos but look overwhelming in person. Your artist should be able to advise on how to get a balance of both looking amazing in person, as well as via your professional photographs. Personally, having had some training as a photographer, I’m able to do this pretty easily.
- If you want a heavily made up look, don’t go for a trial with someone who specialises in very light makeup and vice versa. All artists have their specialities. For example, I feel that my style is: flawless base without looking too made up & very blended glam eye makeup. Someone else’s style may be super simple eye makeup and a heavily made up flawless matte base. Look through the artists galleries, would you want to look like some of their clients?
- Sometimes at the end of the trial, once you look in the mirror, it can be a little bit of a shock. You’re sitting in a makeup chair, probably in a comfy jumper and some jeans, and you’ve got this gorgeous glam face on! It can be hard to visualise how it will look when it all comes together. Please bear in mind that on the day of your wedding, you’ll be in a gorgeous wedding location, with a beautiful dress on, your hair done, your jewellery on, surrounded by your guests, loved ones, who are all dressed up for your big day. Your surroundings, and your clothing will effect how your makeup appears.
-

Photo Credits:- Manisha The London Beauty Stylist
- Consider choosing a separate hair stylist and makeup artist. There are a couple of advantages to this: usually they are both super talented and specialist in what they do and can concentrate on their job rather than juggling both, it can save time on the day, as some parts of the hair styling can be done at the same time as some parts of the makeup application. If you have other people in the bridal party such as your mum and sister who also require their hair and makeup done, this can also help as the makeup artist and hairstylist can both work on one person each. I personally work with some amazing specialist hairstylists and help to match one up to my brides requirements and budget, where possible.
-
- Usually a makeup trial will take around 2 hours, and a hair trial will take 3 hours, so will be priced accordingly. I personally try out around 2 different looks on each side of the face for a makeup trial, we will then discuss the overall looks and adjust where required.
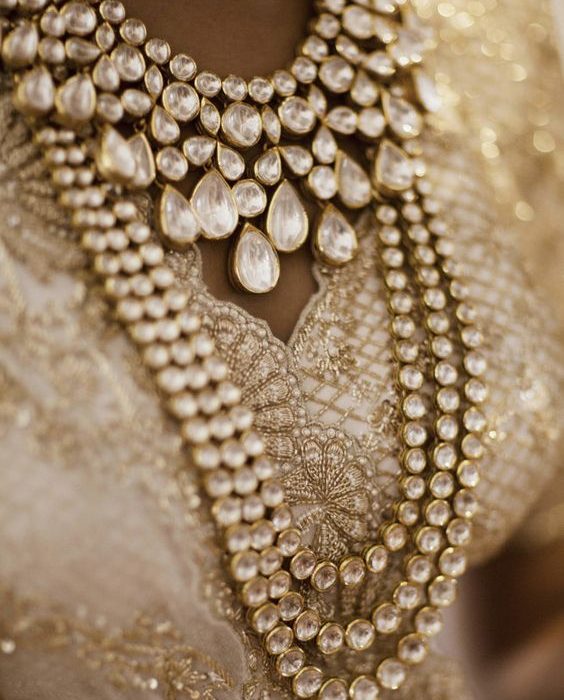
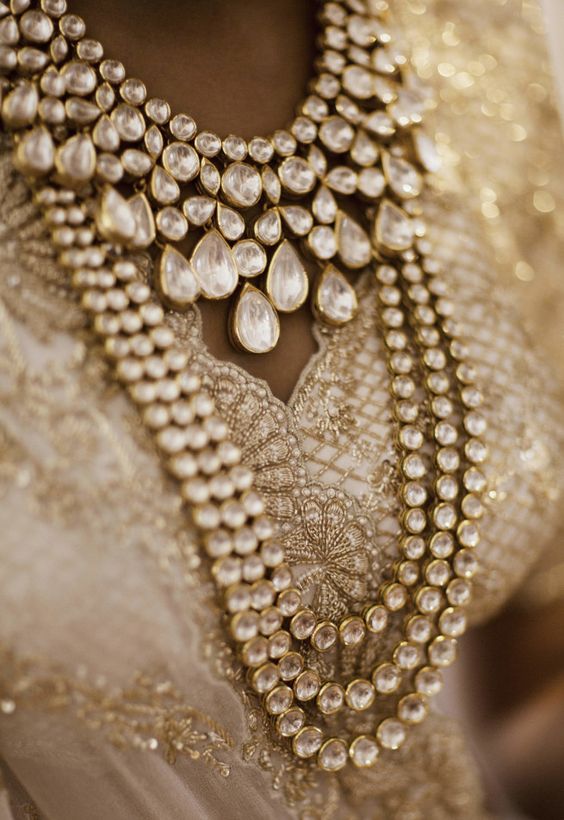
- If you’re having a hair trial, ensure that your hair is washed (ideally the night before otherwise it’s a little too silky), and dried before arrival. Bring any hair accessories and hair jewellery you may already have, if you have your blouse that also helps!
- Do not underestimate the job of a great hair / makeup artist! I know I may be being biased here, but the way you feel about the way you look on the day has a massive effect on how much you will enjoy your day. You could have the most amazing dress and jewellery and then ruin the entire look with less than perfect makeup.
- Due to the wonders of YouTube and Social Media, everyone has a little bit of a MUA in them these
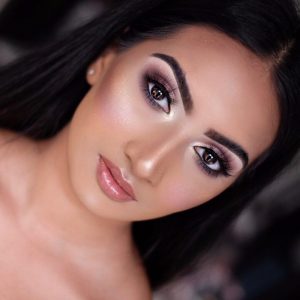
Photo Credits:- Manisha The London Beauty Stylist
days, often the artist will have had years of training and be highly qualified, respect that and trust them to make you look and feel beautiful. I have been on bookings – again in my earlier days – where I have felt like a puppet with a makeup brush, and the overall result has not been as amazing as if I had been trusted to just do my thing.
Finally, enjoy yourself! I absolutely love having trials with my brides, I really feel like it gives us a chance to get to know each other – after all, you’ll be spending a considerable amount of time with your chosen artists and you want to be comfortable with them.
I strongly advise you to take account of all of the above advice in order for you to have an enjoyable and effective trial, weddings can be extensive and there’s usually a significant cost involved in having a bridal trial, so make the most it!
All of the photos in this article are previous clients of mine.
Contact me here to book your bridal trial.
Manisha x
